- Step 1: Choose a location
Select a suitable location for your Christmas tree. Make sure it's near an electrical outlet for the lights and in a spot where it can be easily seen and admired.
- Step 2: Fluff and shape branches
Fluffing the branches helps to make your artificial Christmas tree look fuller and more natural.
Separate each branch so they fan out to cover as much area as possible and don't hesitate to bend individual branches to fill in gaps.
- Step 3: String the lights
Begin at the head of the tree and work your way down, wrapping the lights around the branches.
- For small trees: 100-200 lights for each 45cm
- For medium trees: 200-300 lights for each 45cm
- For large trees: 300-400 lights for each 45cm
- Step 4: Hang Ornaments
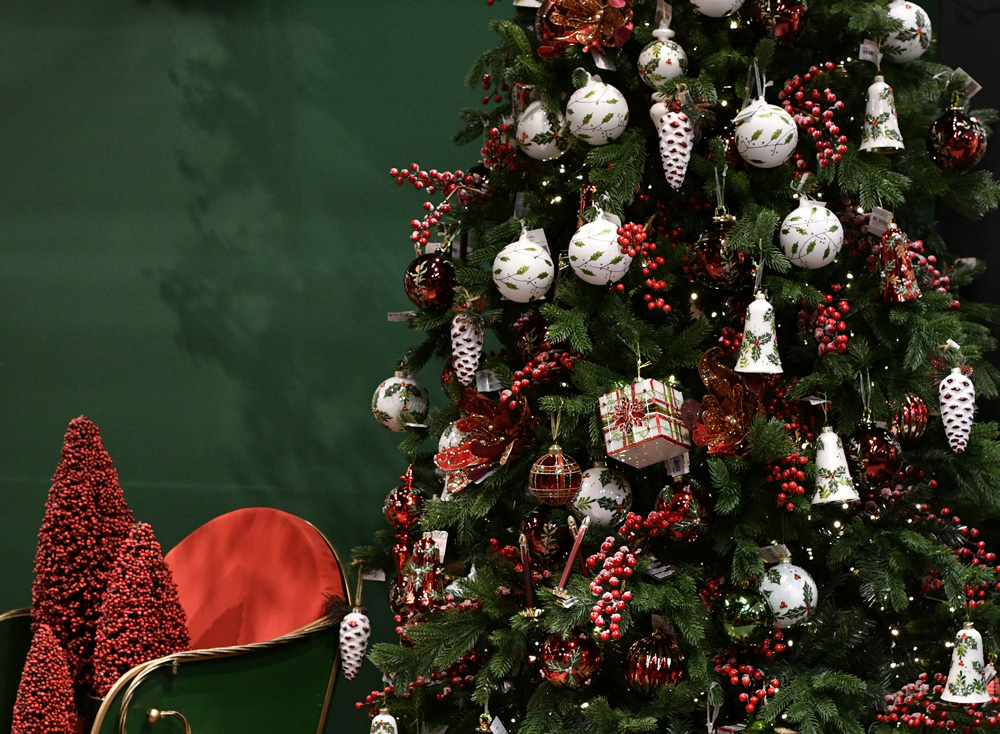
Ensure that everything is well-balanced and spread out to your liking. Arrange embellishments from the top of the tree and then work towards the bottom.
- For small trees (120-180cm): 50-100 ornaments
- For medium trees (210-270cm): 100-150 ornaments
- For large trees (300-360cm or taller): 150-200 ornaments or more
- Step 5: Decorate with Special Ornaments
Place any special ornaments in prominent positions on the tree. These can include decorated branches, twigs, berries, tree picks, ribbon or even pine cones, use them as subtle accents to complement the entire look of your tree.
- Step 6: Add the Tree Topper
Place the tree topper on the highest point of the tree. Common choices for tree toppers include stars, angels, or bows. Make sure to choose one that best fits your theme and the proportion of your tree.
- Step 7: Final Touches
Step back and evaluate your tree's overall appearance. Make any necessary adjustments, such as repositioning ornaments, fixing lights, or adding any finishing touches like ribbons, bows, or decorative sprays.
- Step 8:
Cover the legs of the tree with Jute or feutre Jardin as per the decoration theme
- Step 9: Turn on the Lights
Finally, plug in the Christmas lights and enjoy the warm, festive glow of your decorated tree.


